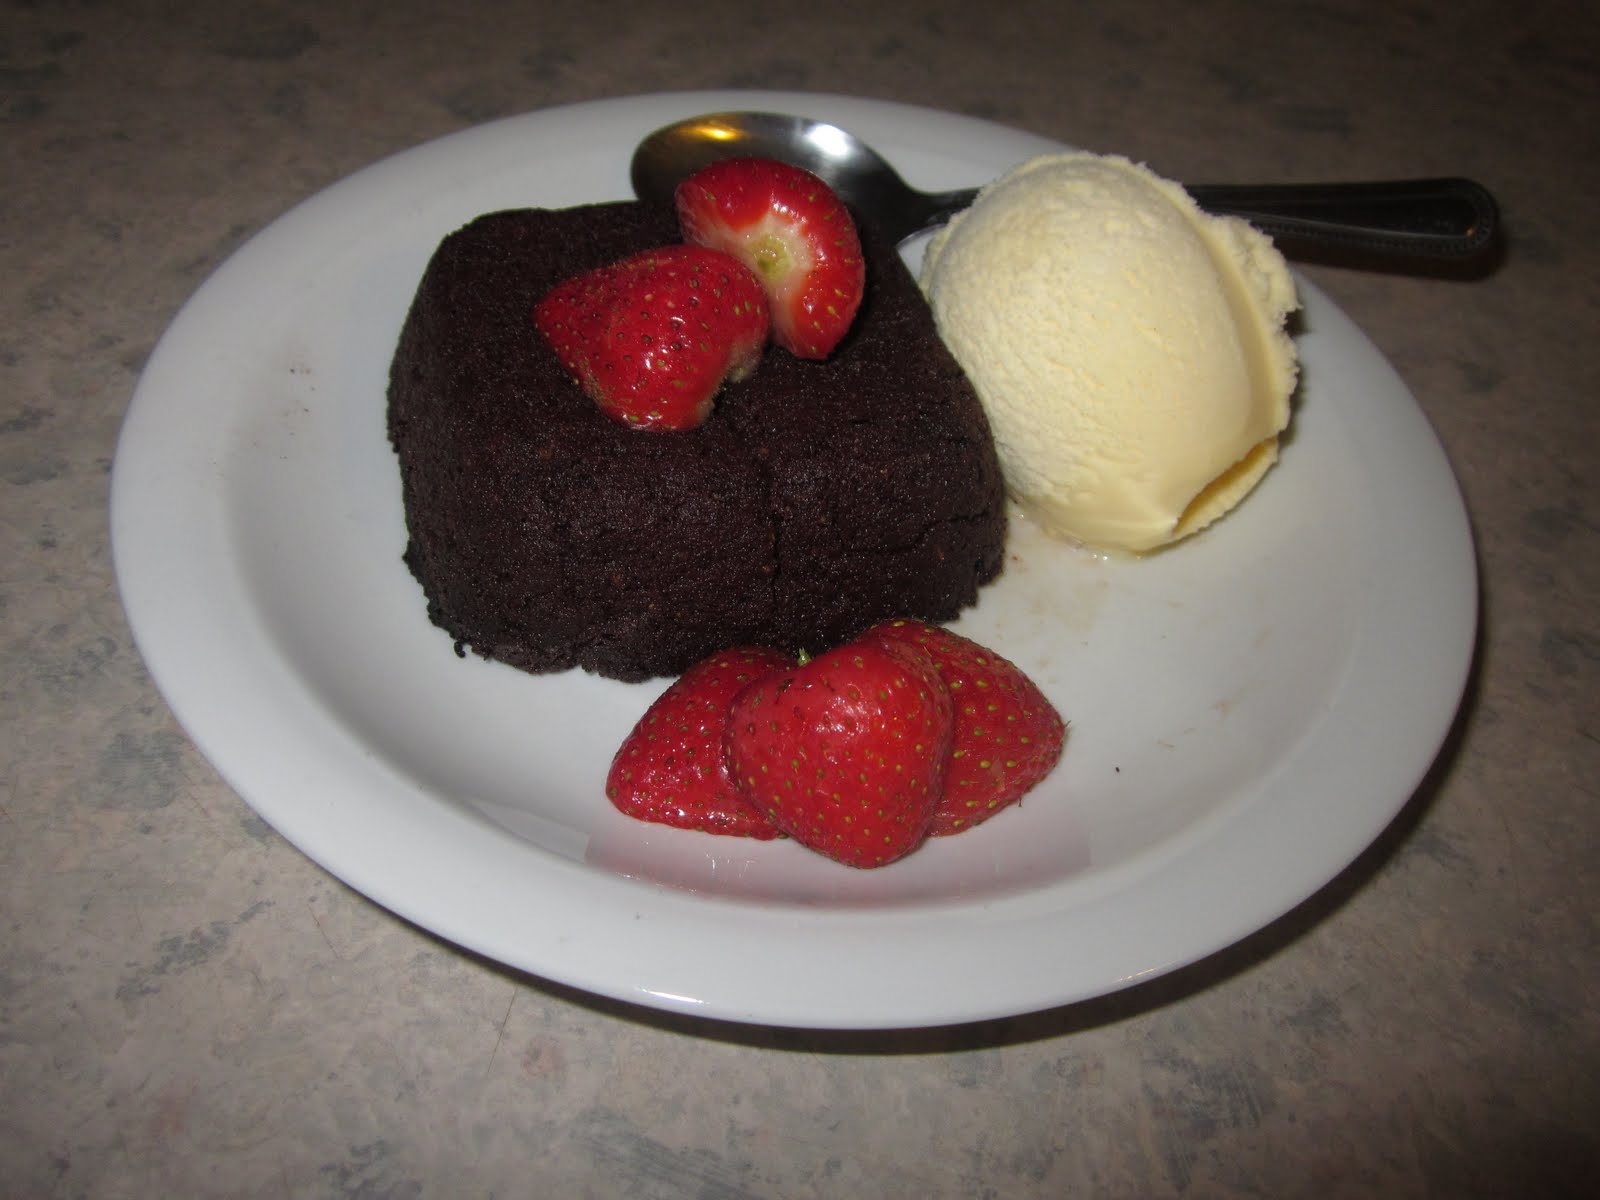
I haven’t made muffins since my very first post, which was a good few months ago, so I thought it was definitely time to make another batch! I had a bar of white chocolate sitting in my cupboard waiting to be used up, but nothing else to go with it. In the end, I decided to quickly nip across the road to the supermarket and buy some raspberries which I thought would compliment the chocolate nicely! :)
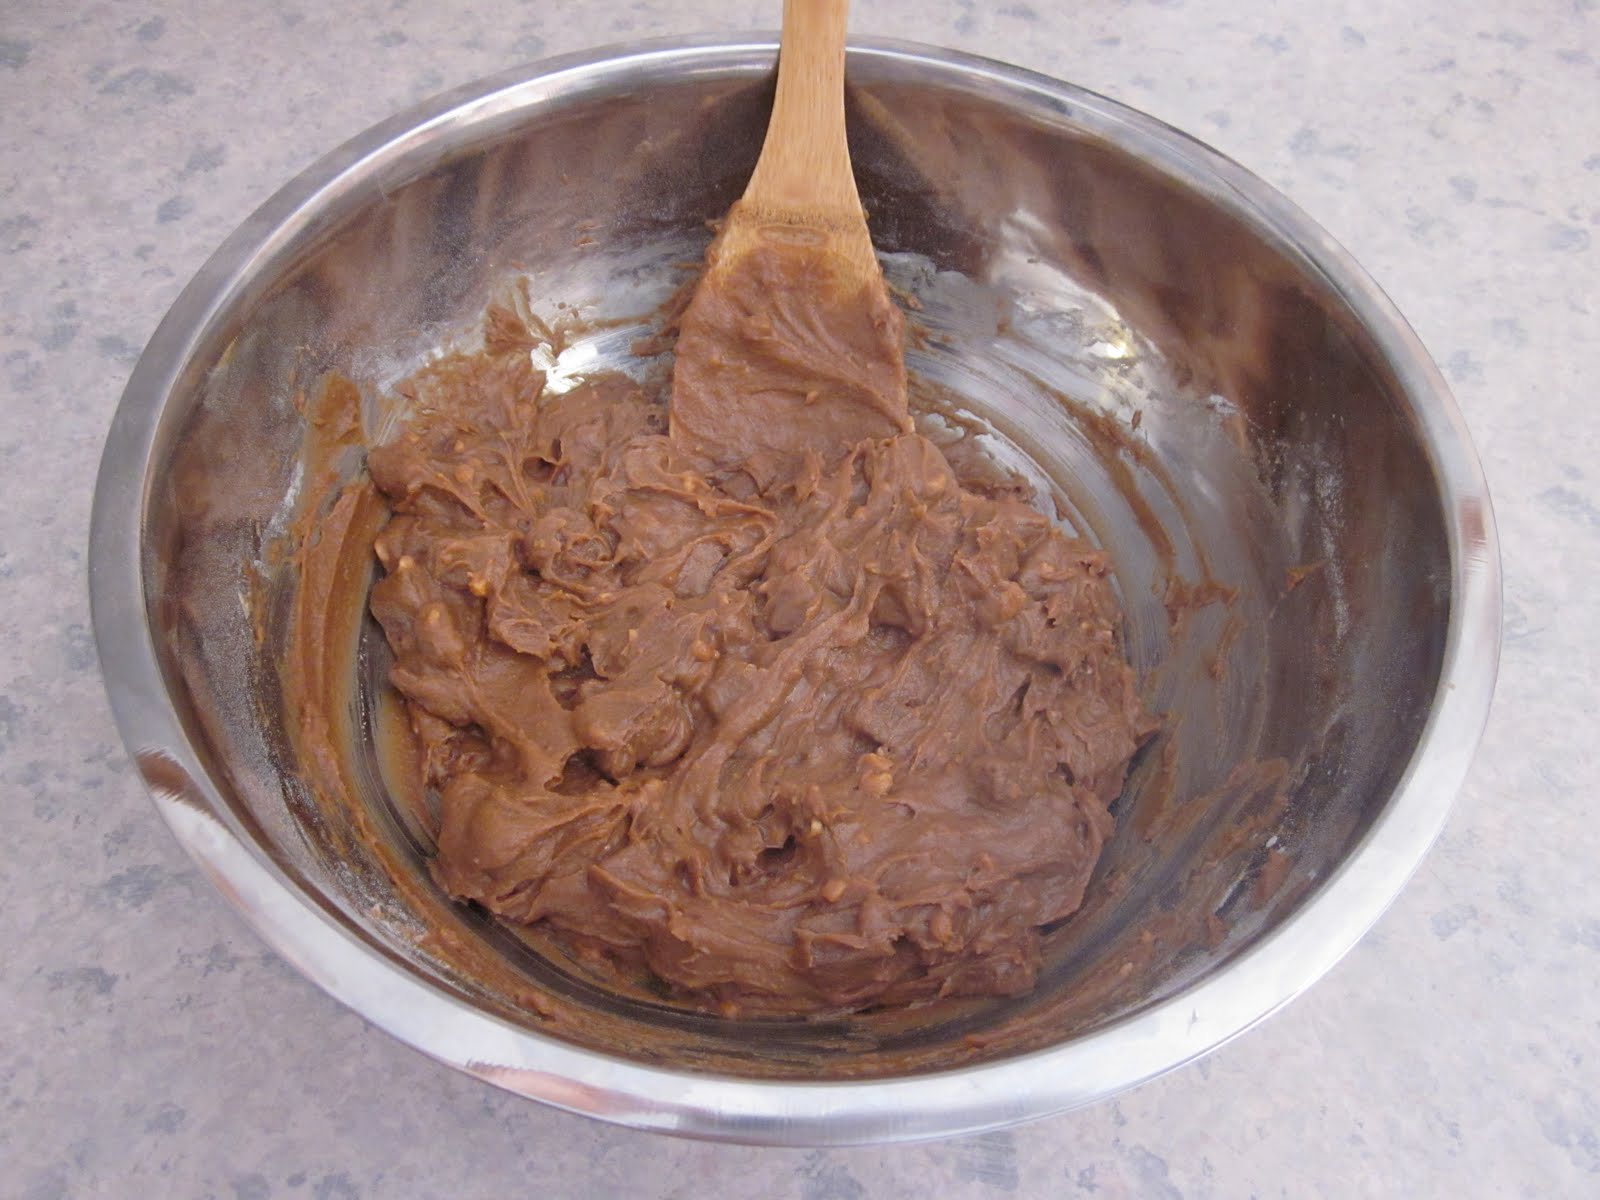
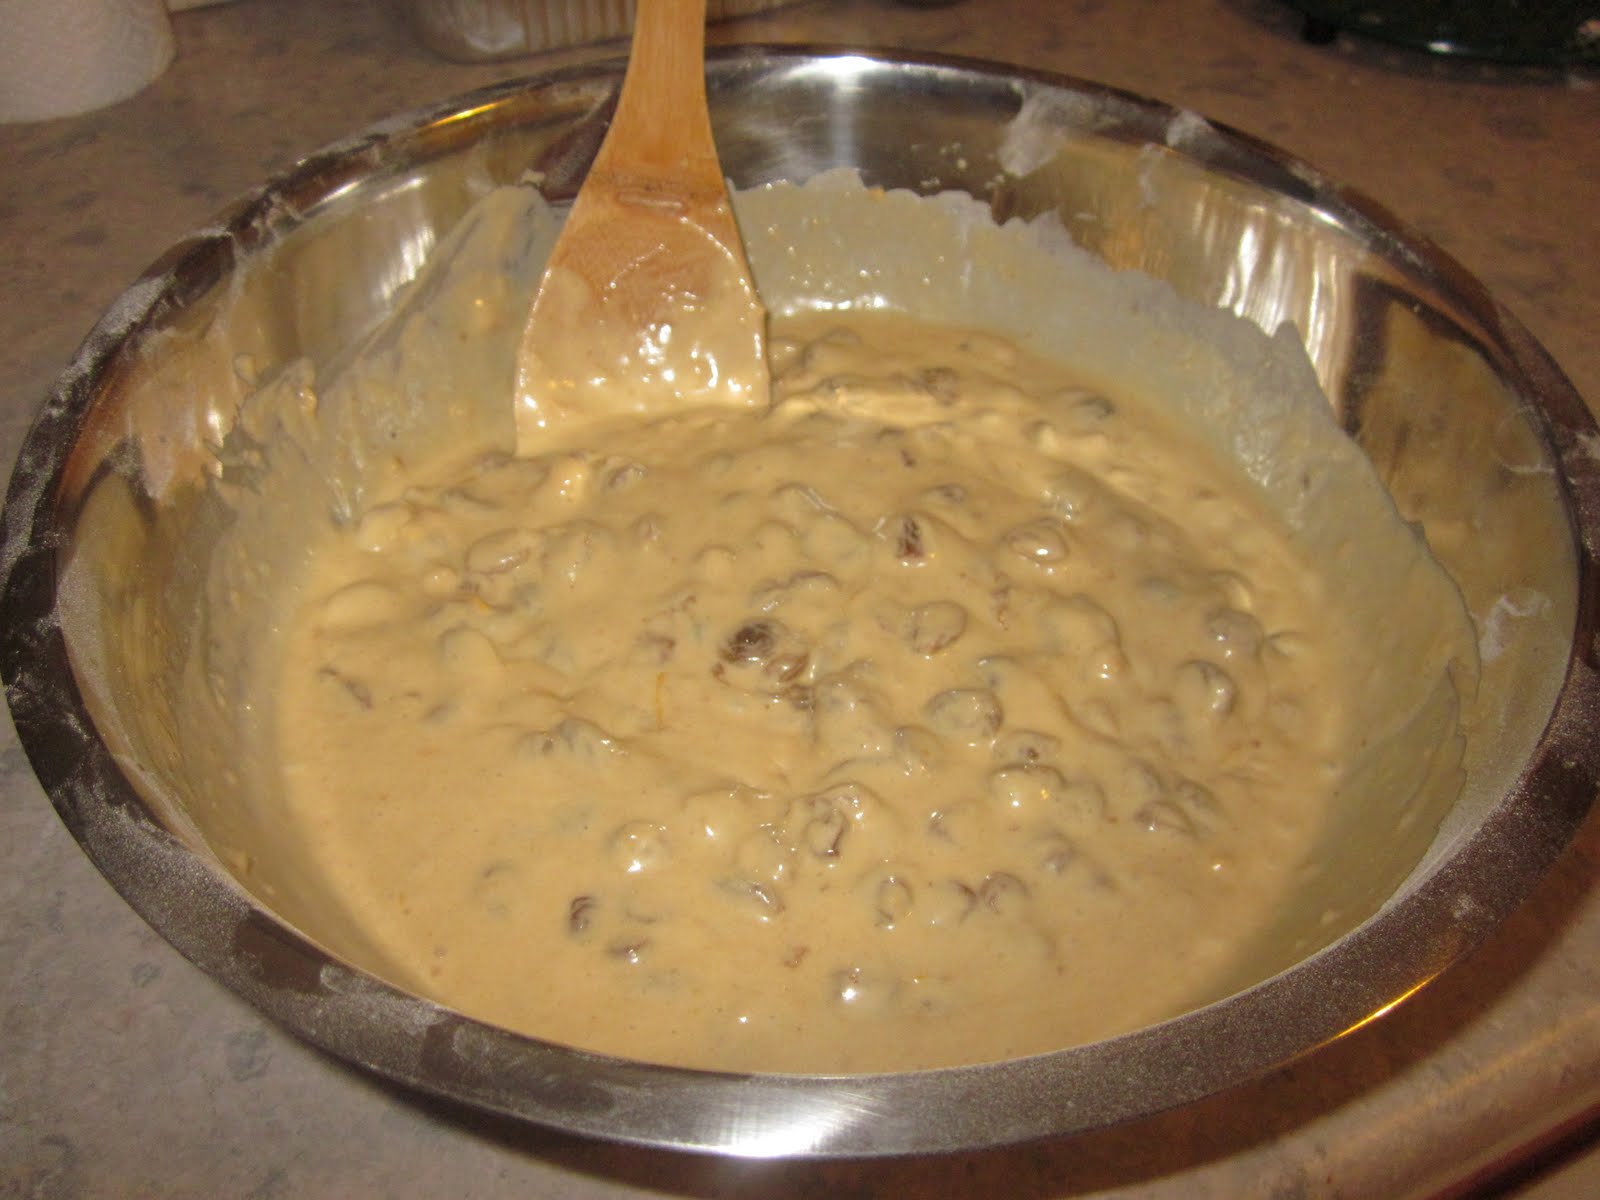
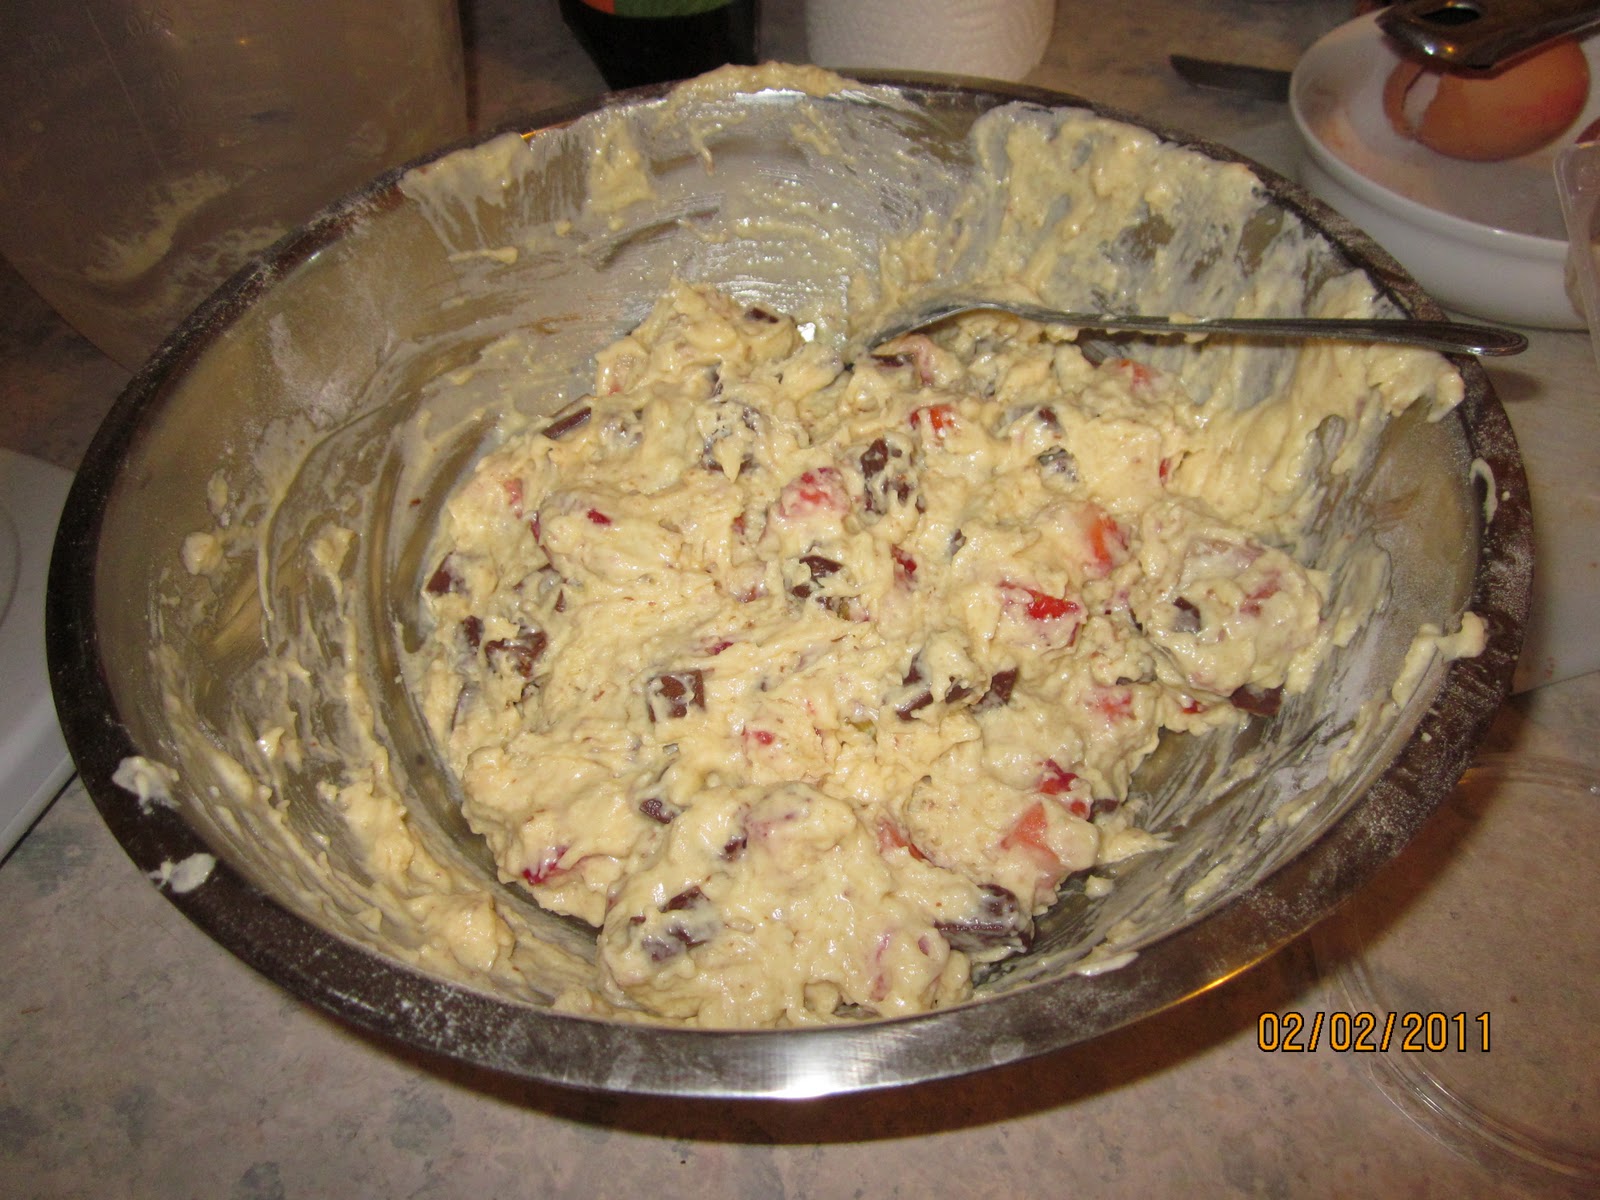
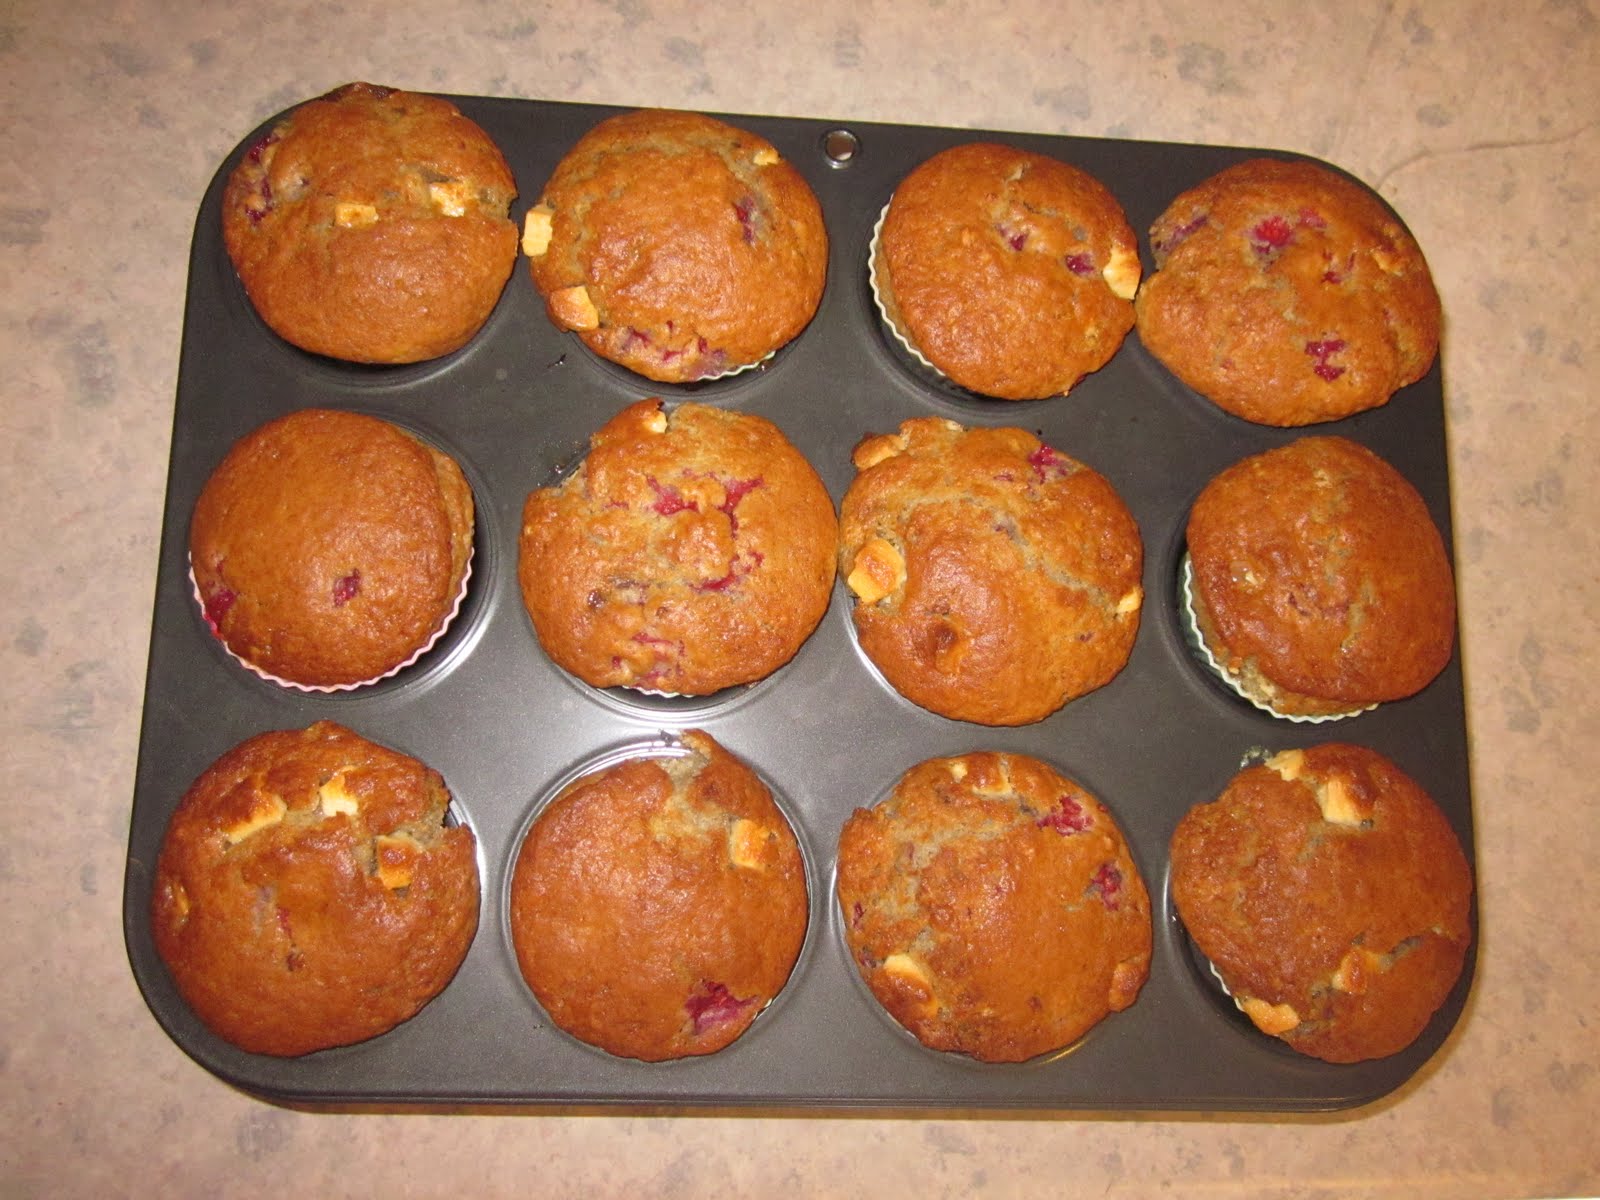
When mixing the wet and dry ingredients together, some of the raspberries will break no matter how careful you are, but this adds a lovely ripple like effect through the mixture. Also make sure that you let the butter cool for a few minutes before adding to the eggs so as not to cook them.
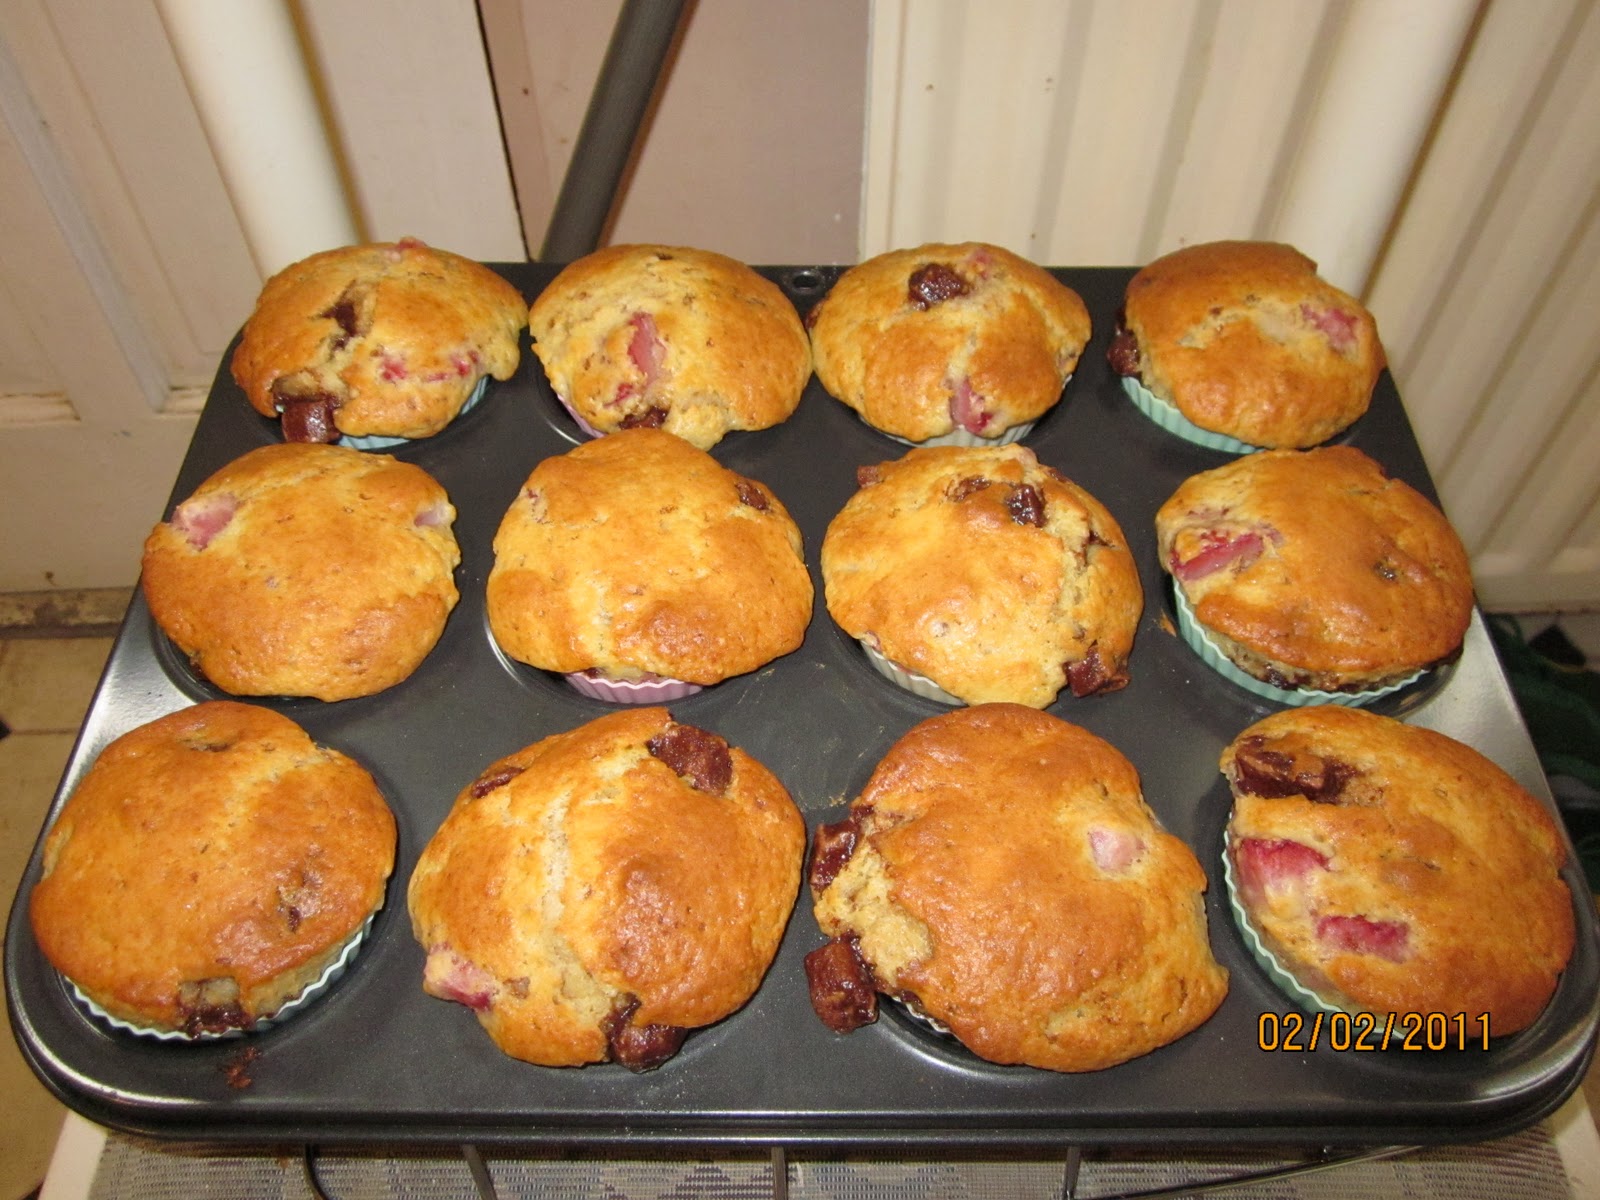
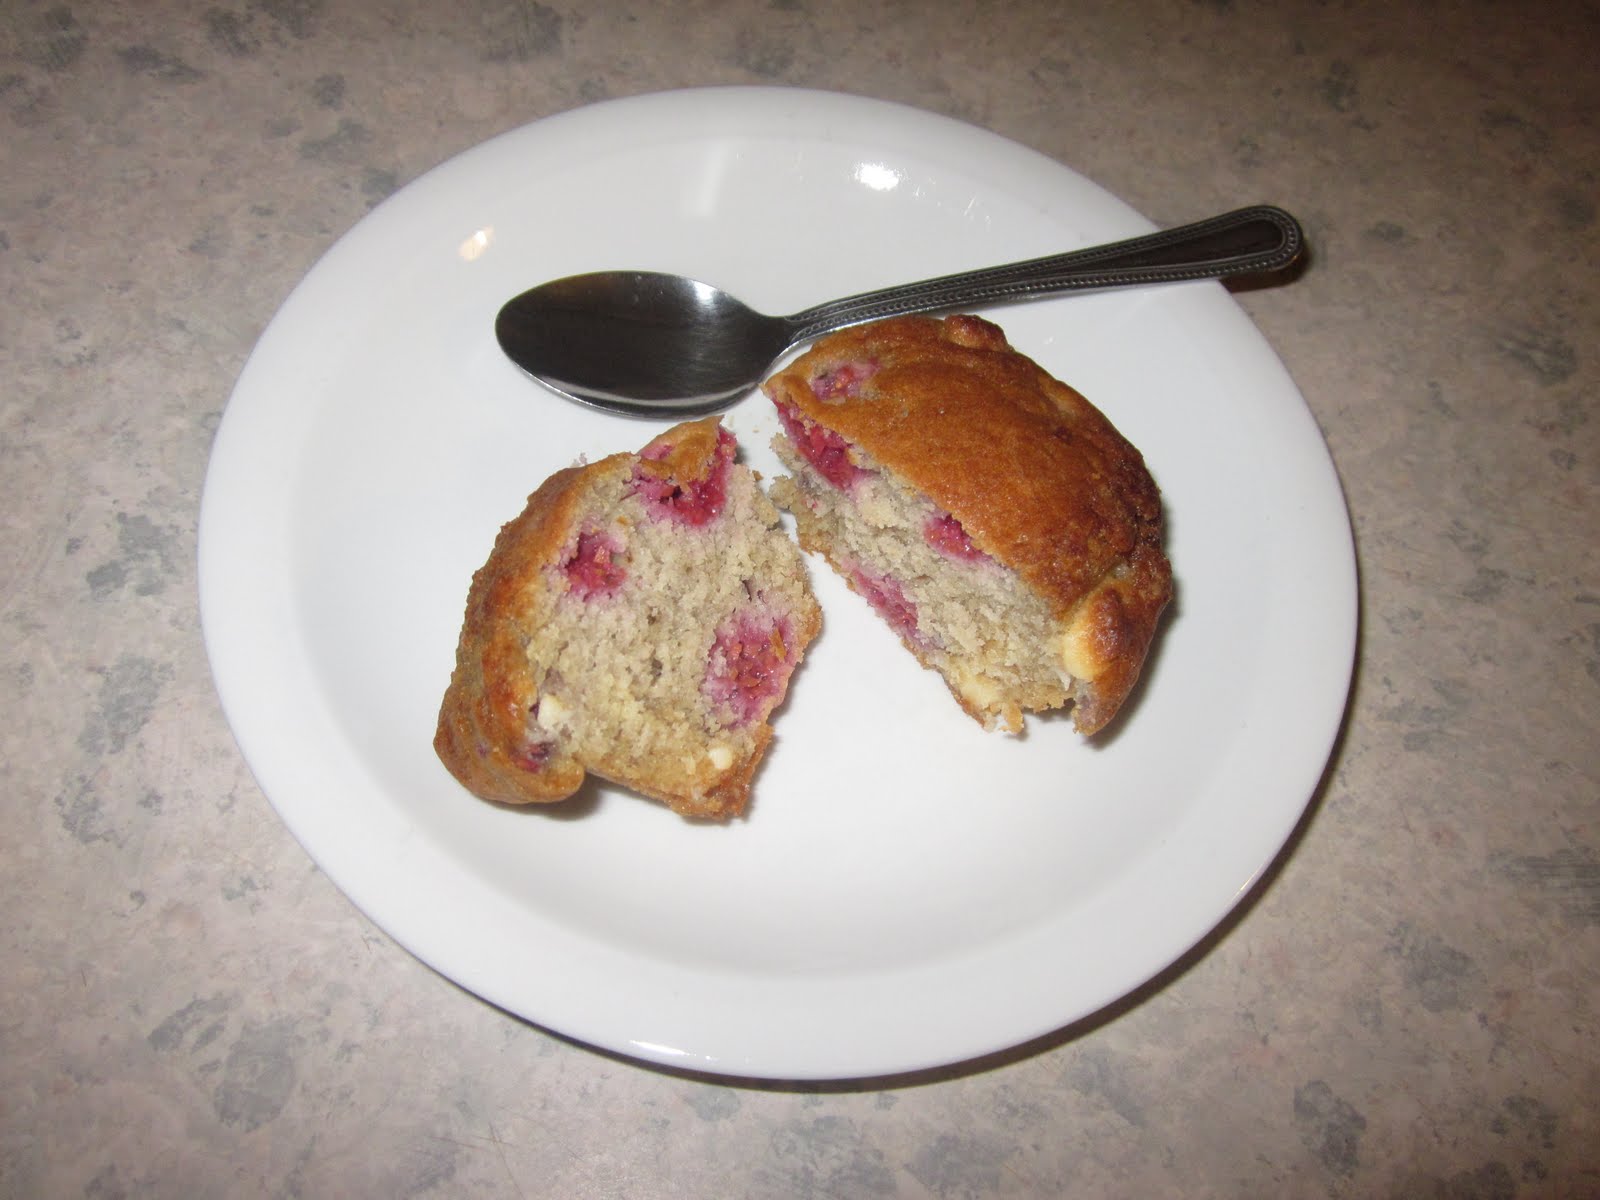
The original recipe called for plain natural yoghurt, but I used a pot of raspberry yoghurt that I had already bought for my breakfast. I don’t know if it matters really but I didn’t notice any difference in terms of how the muffins came out or tasted! They're delicious eaten both when warm and cool, and are still lovely and moist after a few days :)

Ingredients:
250g self-raising flour
1 tsp bicarbonate of soda
150g raspberries
150g bar white chocolate, cut into small chunks
100g golden caster sugar
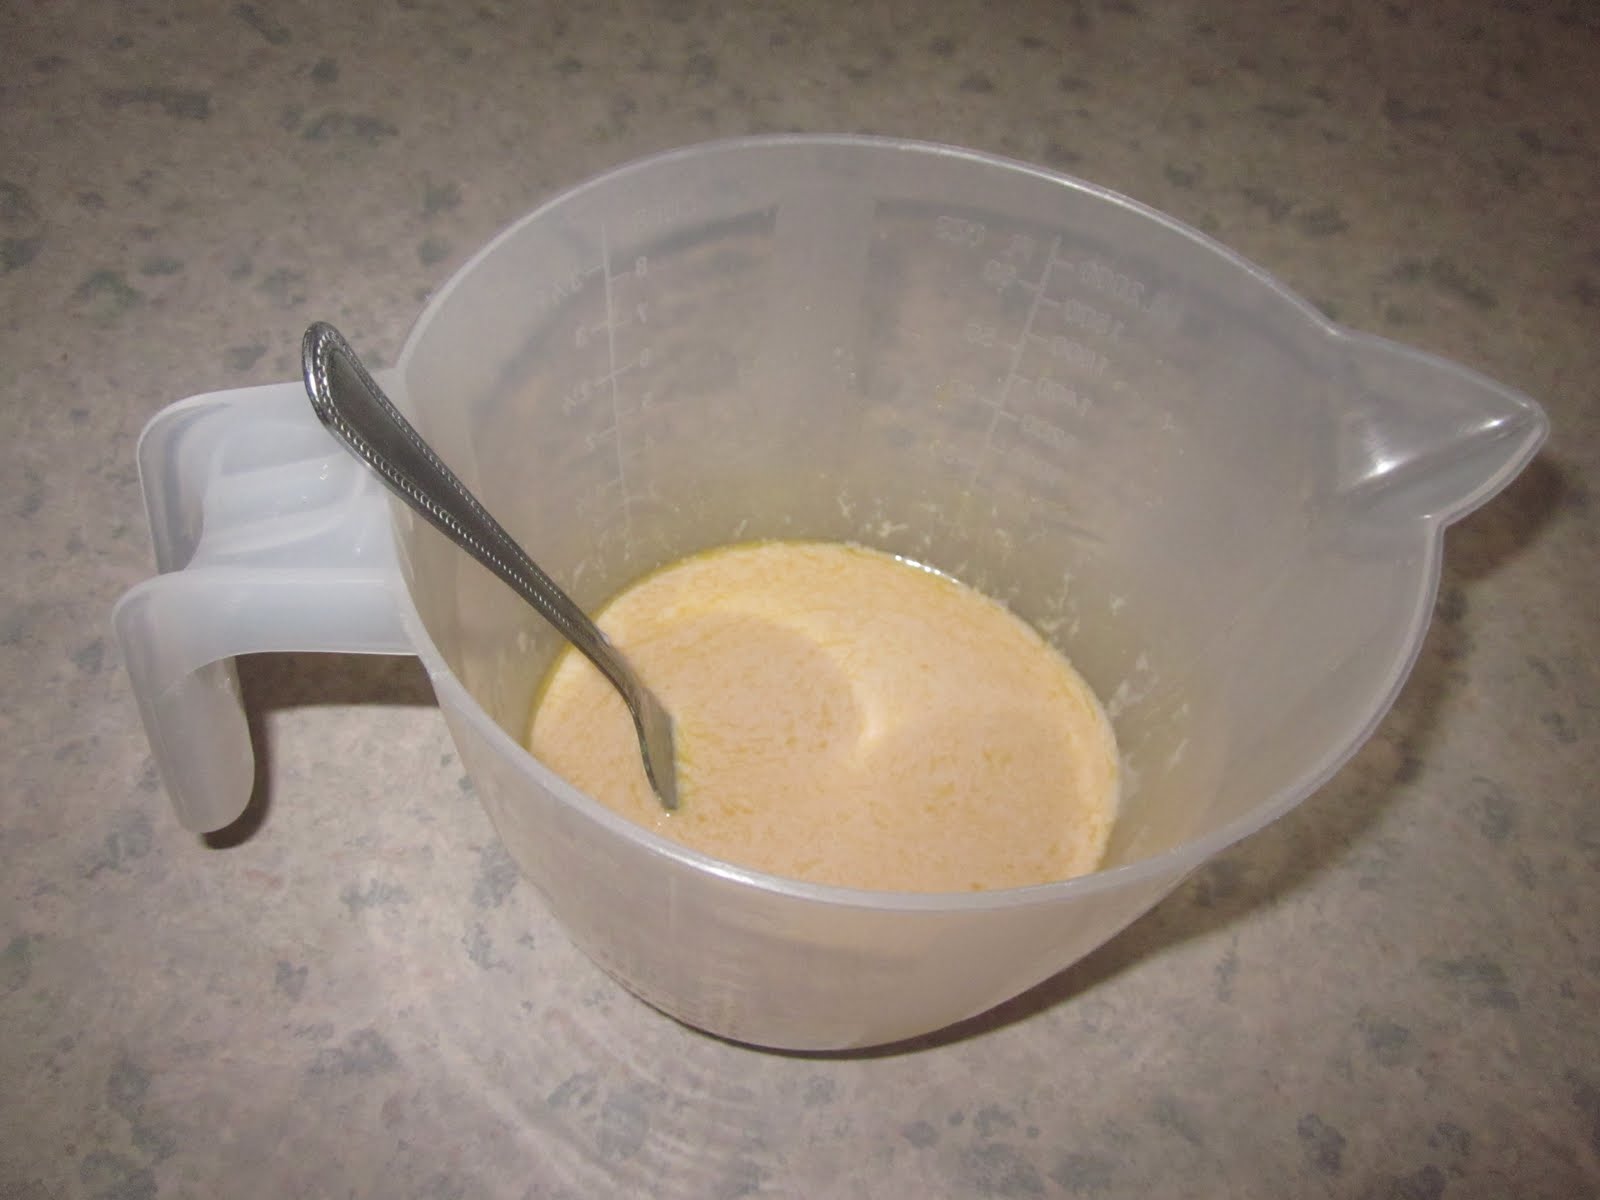
100g butter, melted
2 eggs, beaten
150ml pot raspberry yoghurt
Method:
- preheat the oven to 200C
- line a 12-hole muffin tin with some muffin cases
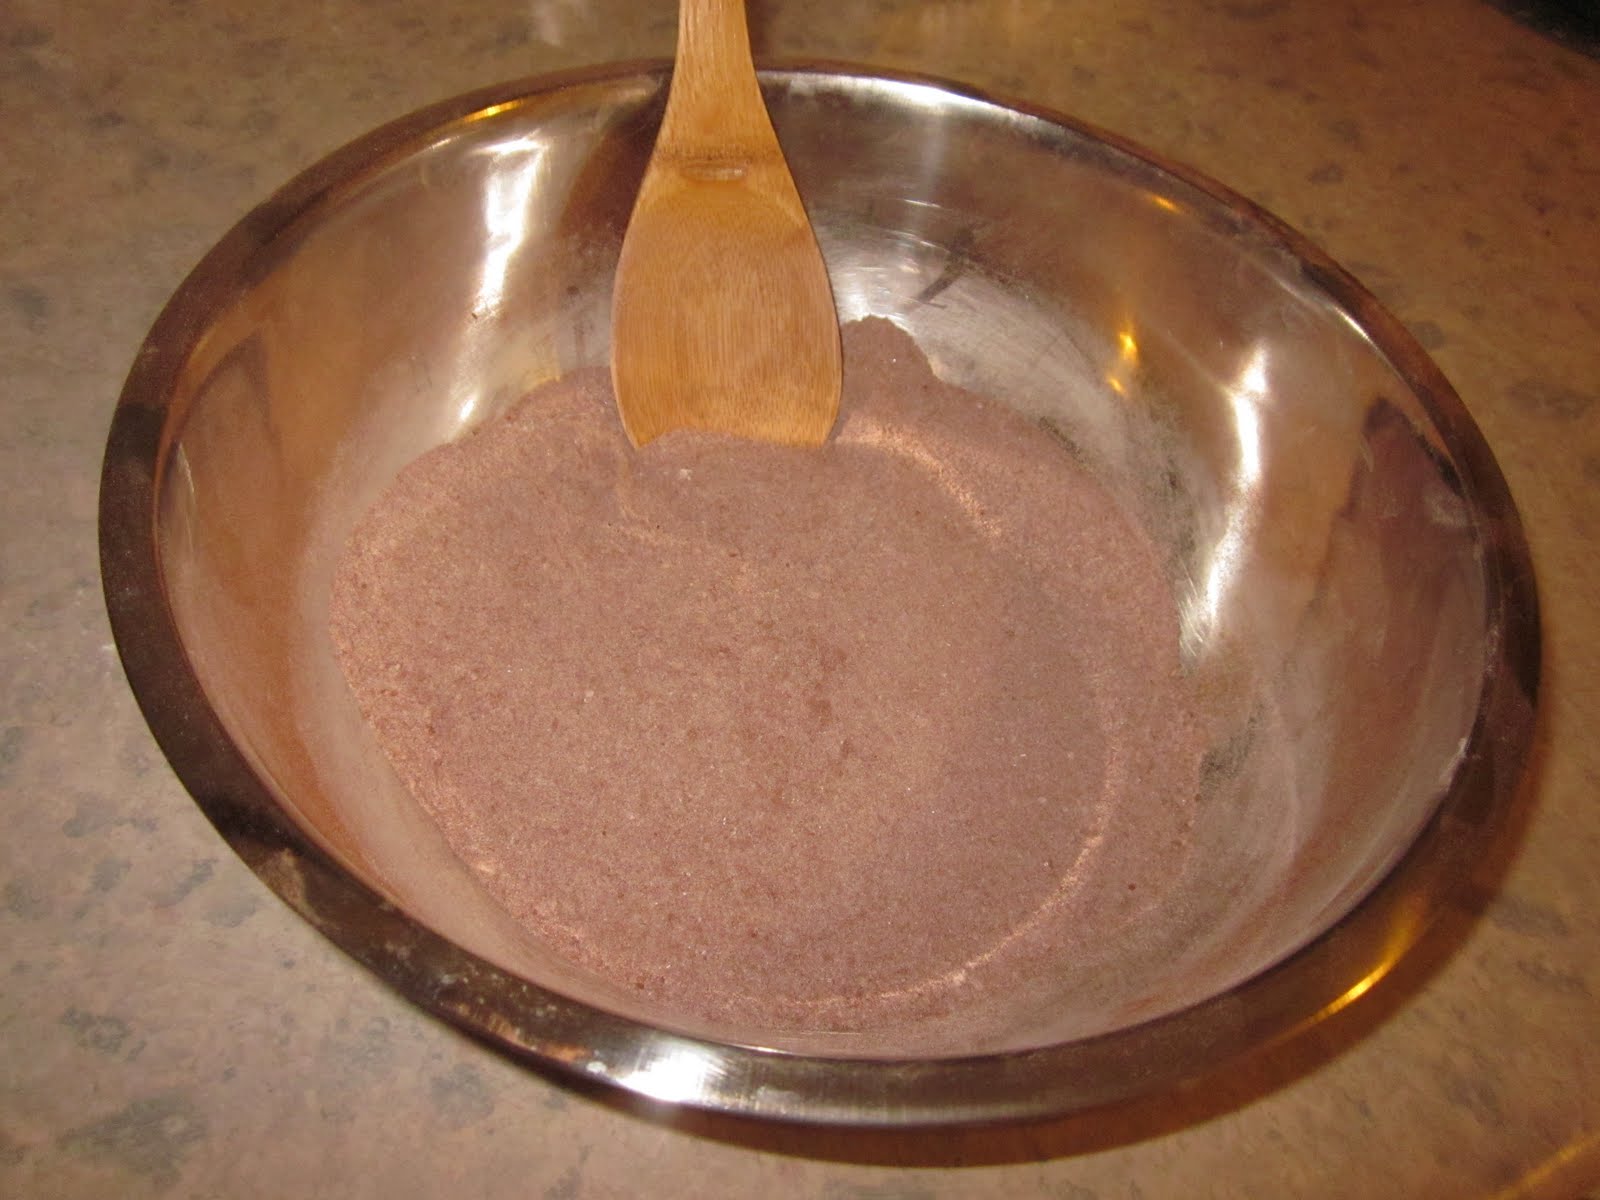
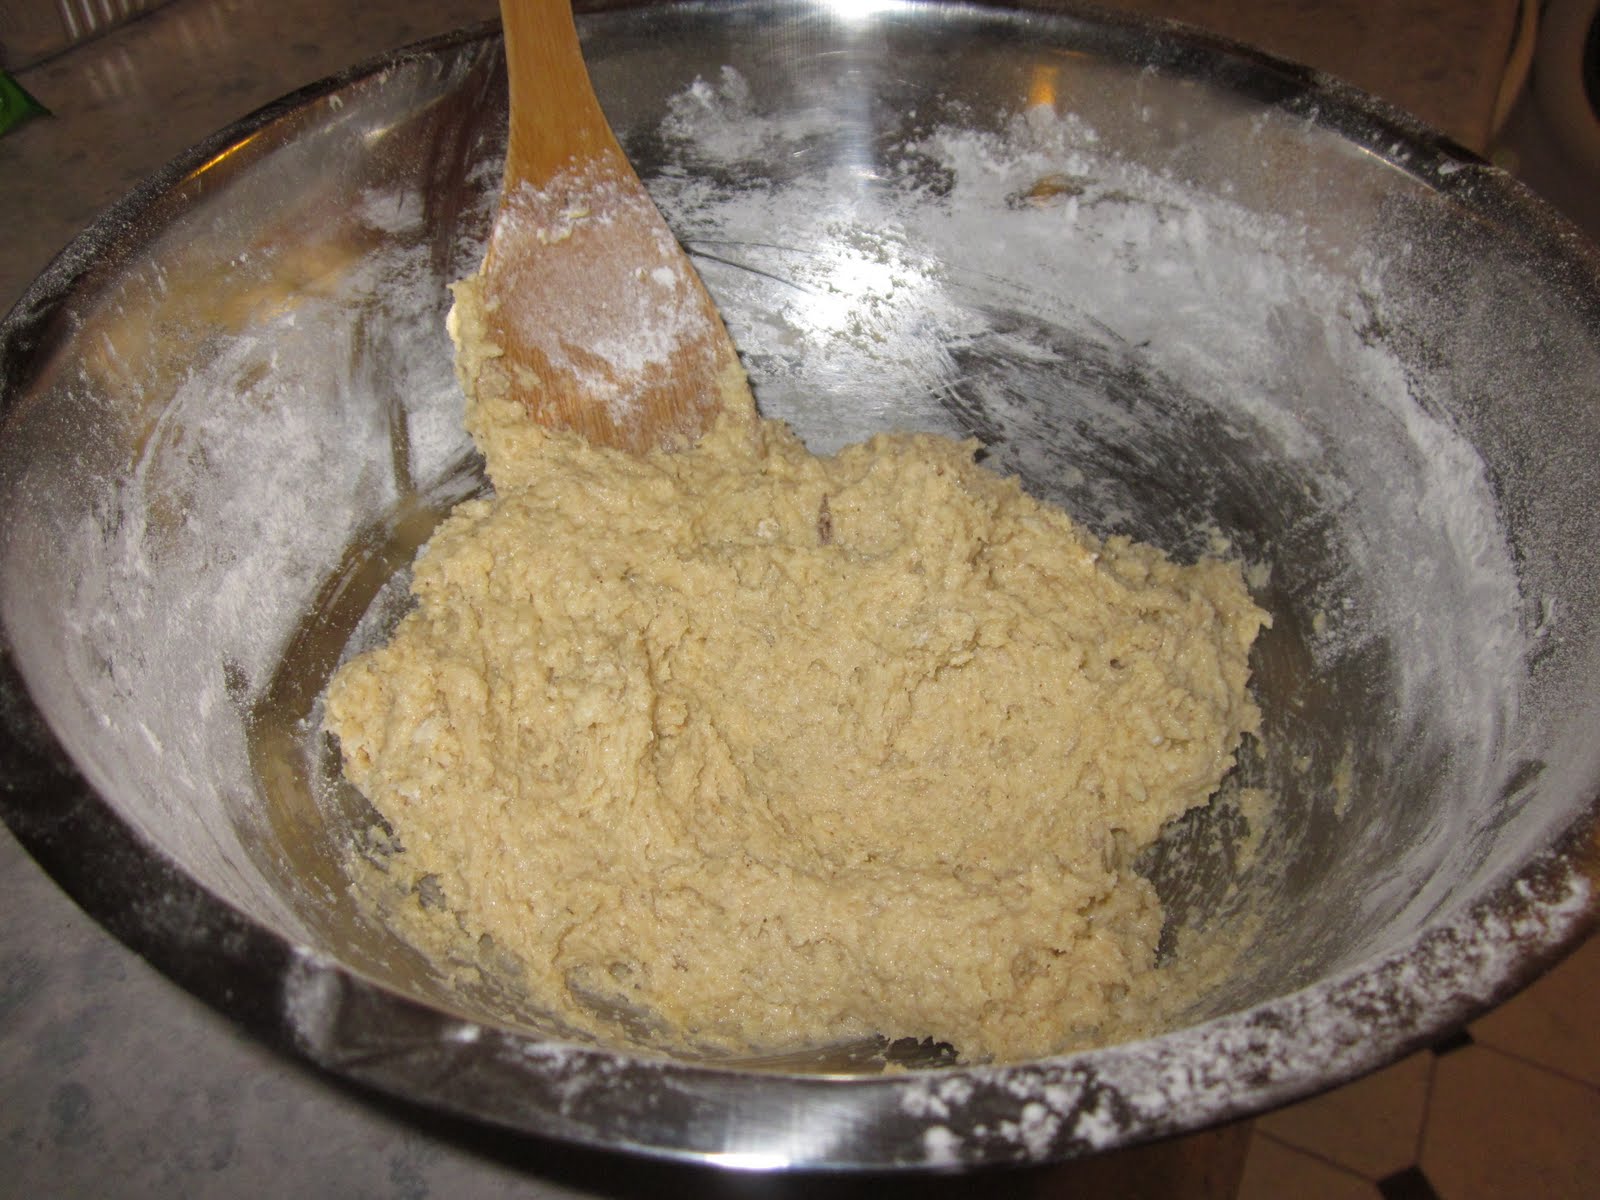
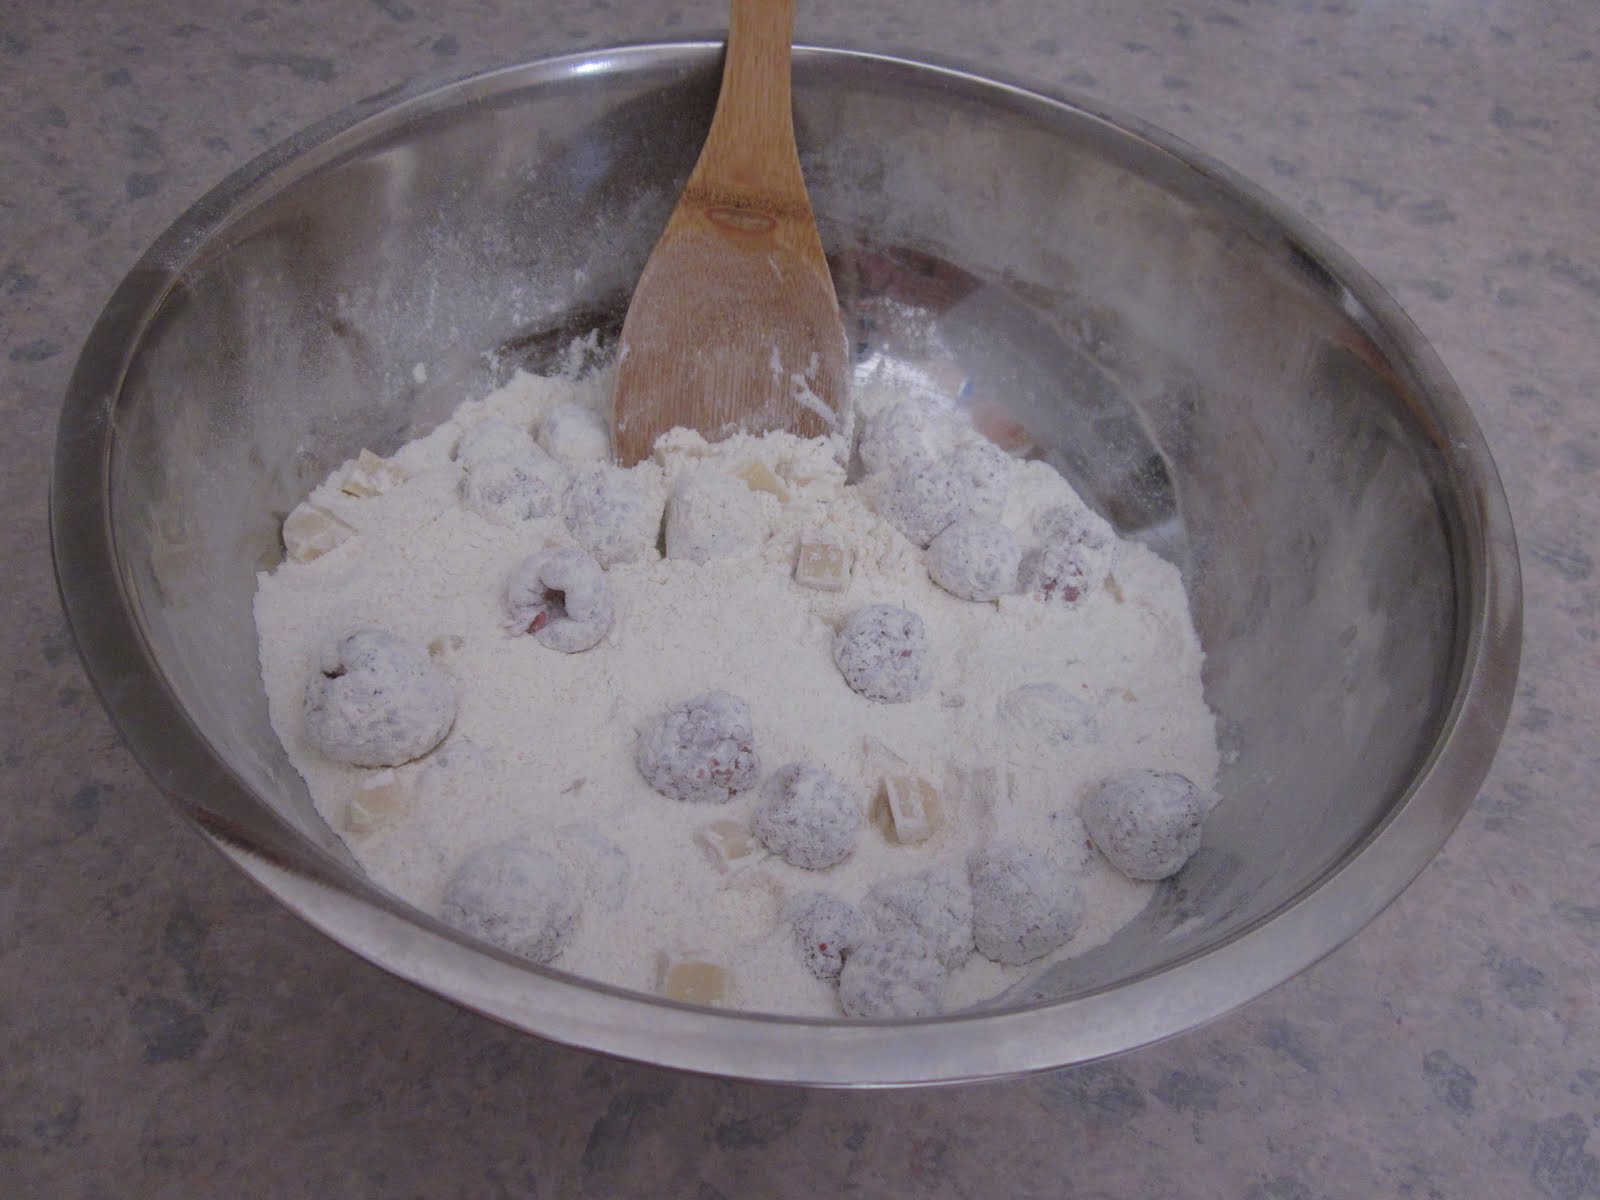
- sift the flour and bicarbonate of soda into a large bowl, then stir in the berries, chocolate and sugar
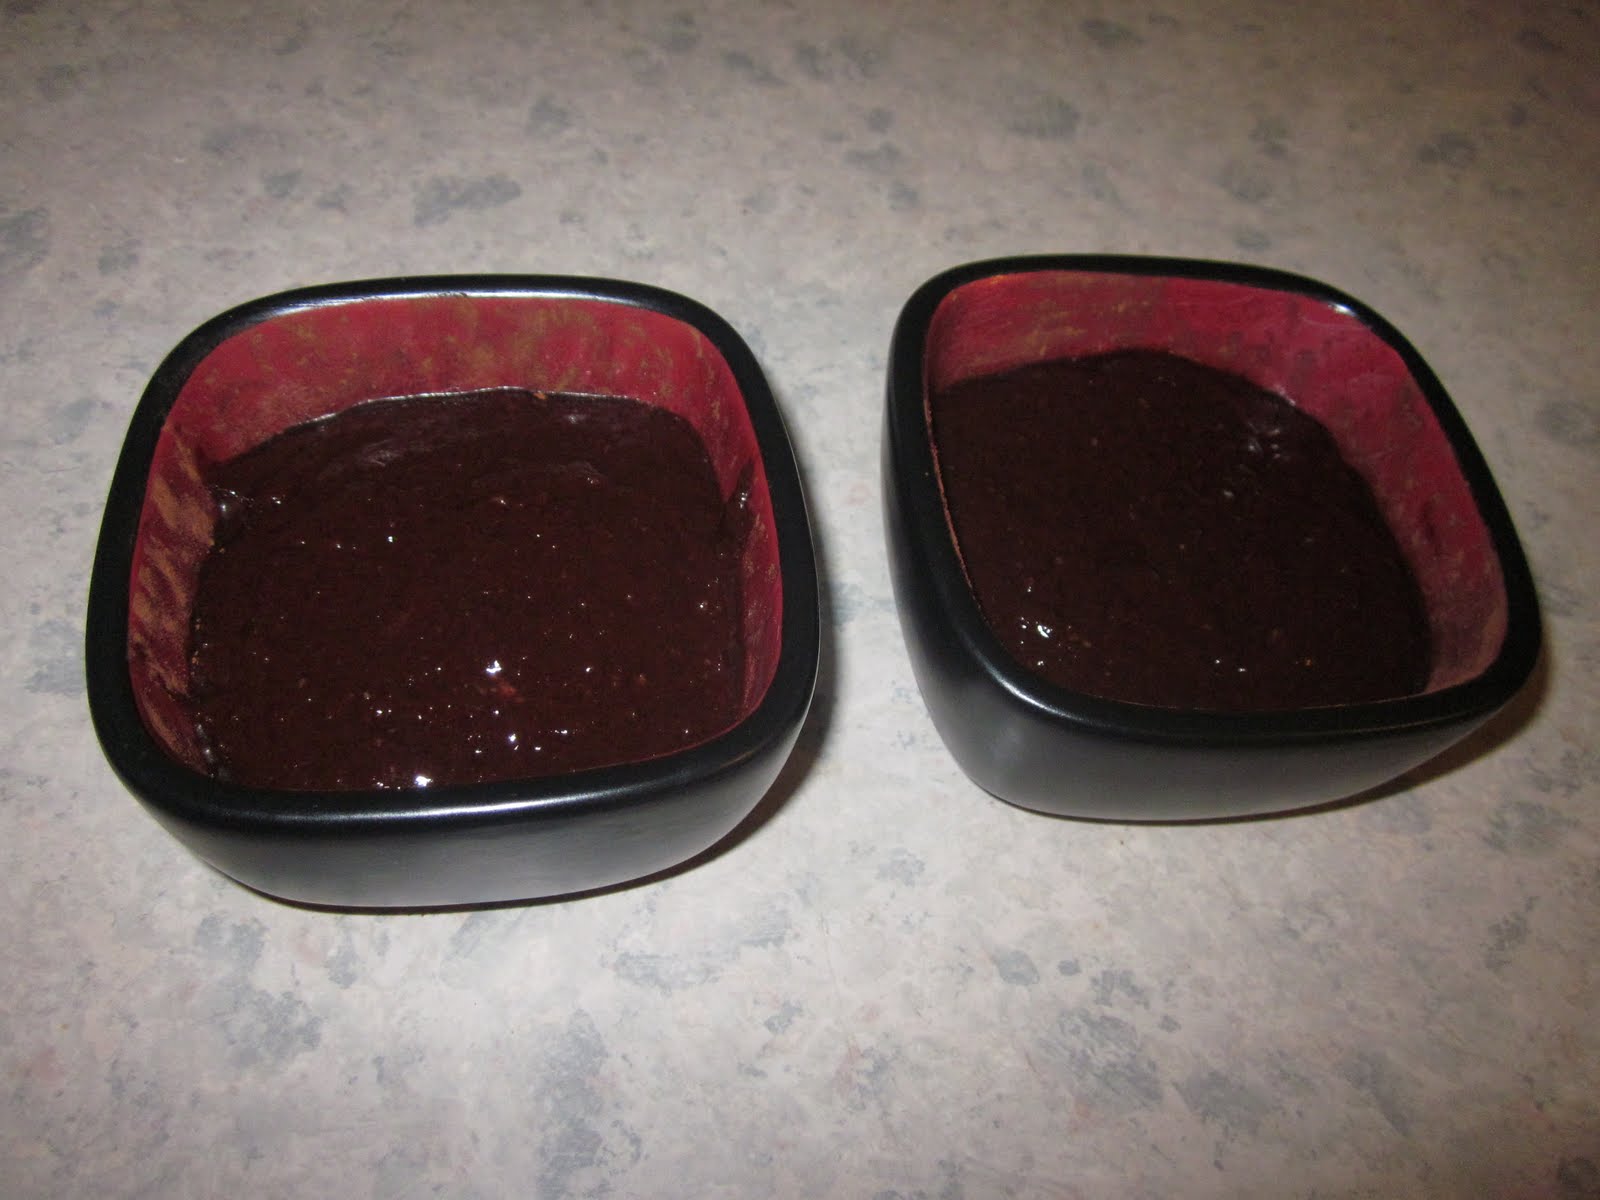
- add the butter, beaten eggs, and yoghurt, and stir to combine (it doesn’t matter if the mixture looks a bit lumpy, it’s more important not to overmix or the muffins will turn out tough)
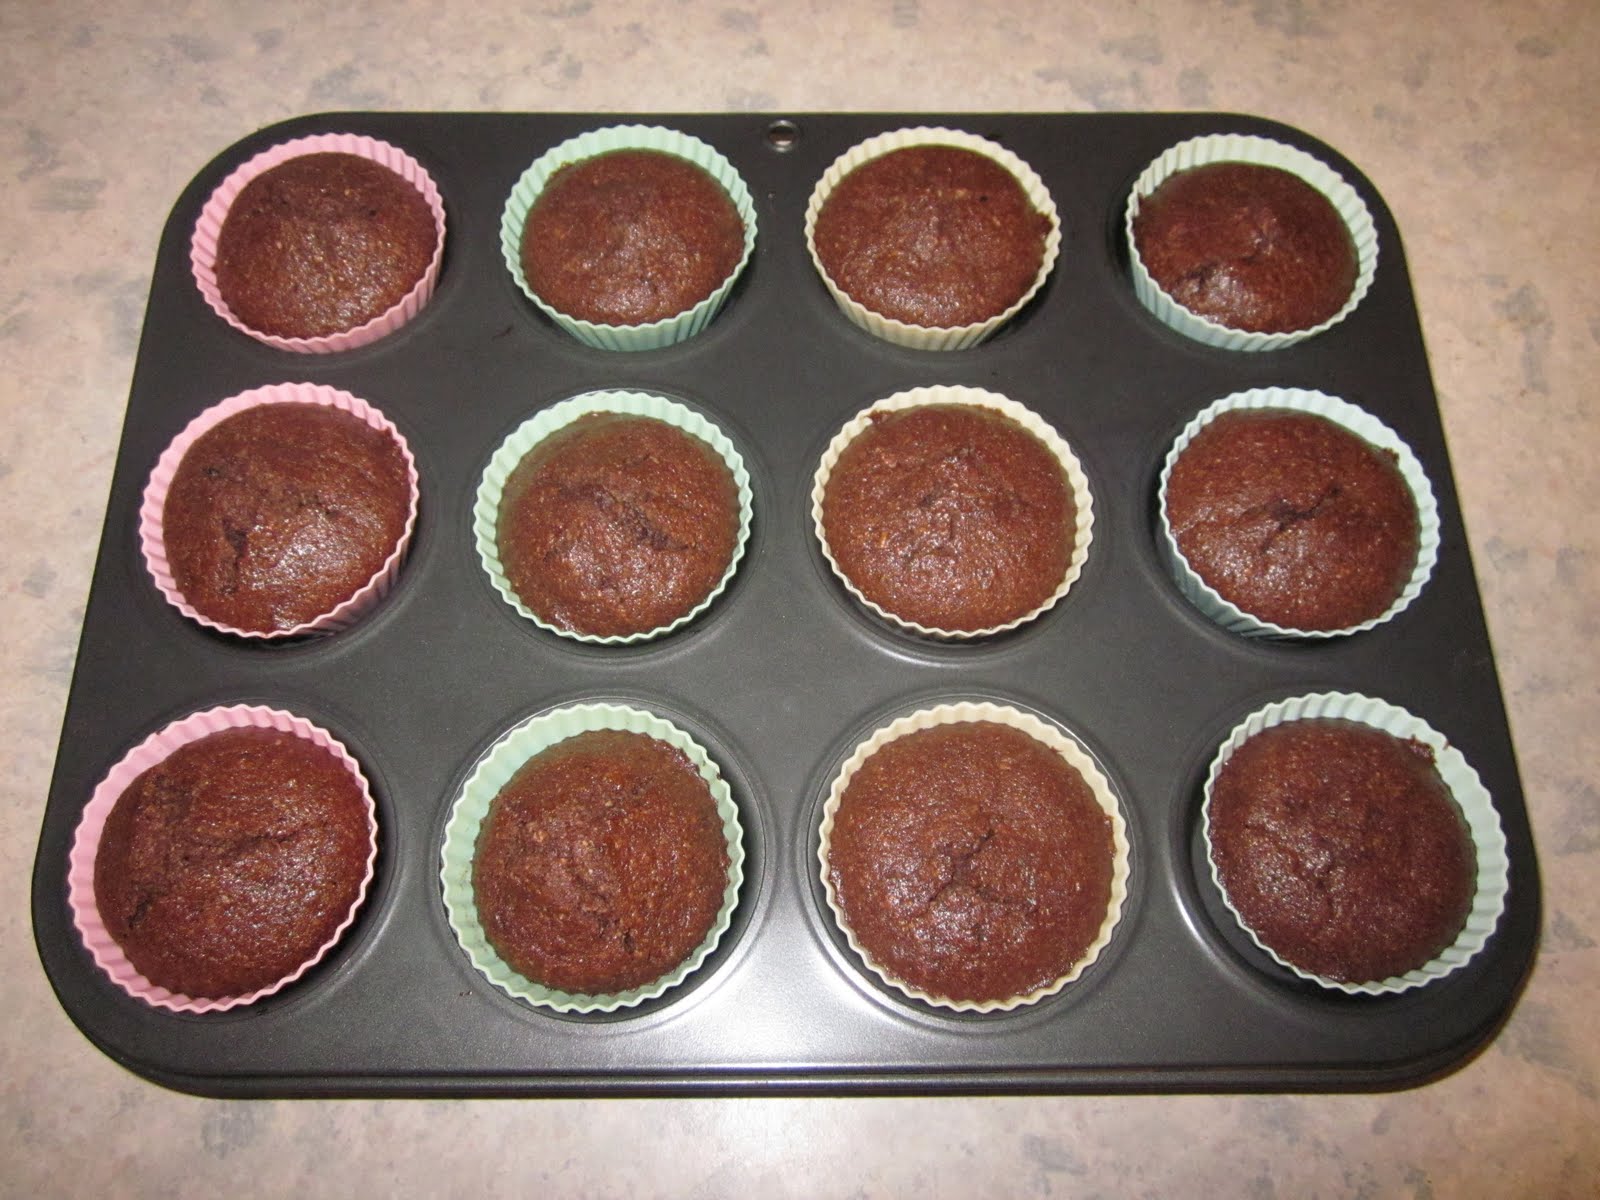
- fill the cases and bake for 20-25 mins until risen and golden brown and then transfer to a rack to cool